Support Ticket Integration in Mewayz
Support Ticket, your ultimate ticket management solution designed to simplify the seamless handling of support tickets.
Introduction
Support Ticket is your all-in-one solution for managing client inquiries efficiently. It is designed to simplify the handling of support tickets for both your team and your clients. It streamlines the entire process, enabling quick ticket creation, easy access, and prompt responses—ultimately leading to faster issue resolution and improved customer satisfaction. With Support Ticket, you can build a structured and versatile ticketing system where tickets can be categorized, assigned statuses, detailed with descriptions, and include multiple file attachments. A centralized dashboard allows your team to monitor and manage all client interactions effectively, with access available to multiple admins for collaborative support. Clients can easily submit tickets by selecting from FAQs, filling out a simple form, attaching files, and instantly receiving a unique ticket ID. This powerful feature ensures that customer concerns are handled smoothly, helping you build trust and deliver a more effective support experience.
How to Install the Add-On?
To Set Up the Support Ticket Add-On, you can follow this link: Setup Add-On.
How To Use The Support Ticket Add-On?
Once you purchase and install the Support Ticket Add-On, go to the sidebar and search for it. You will see many pages there.
Dashboard
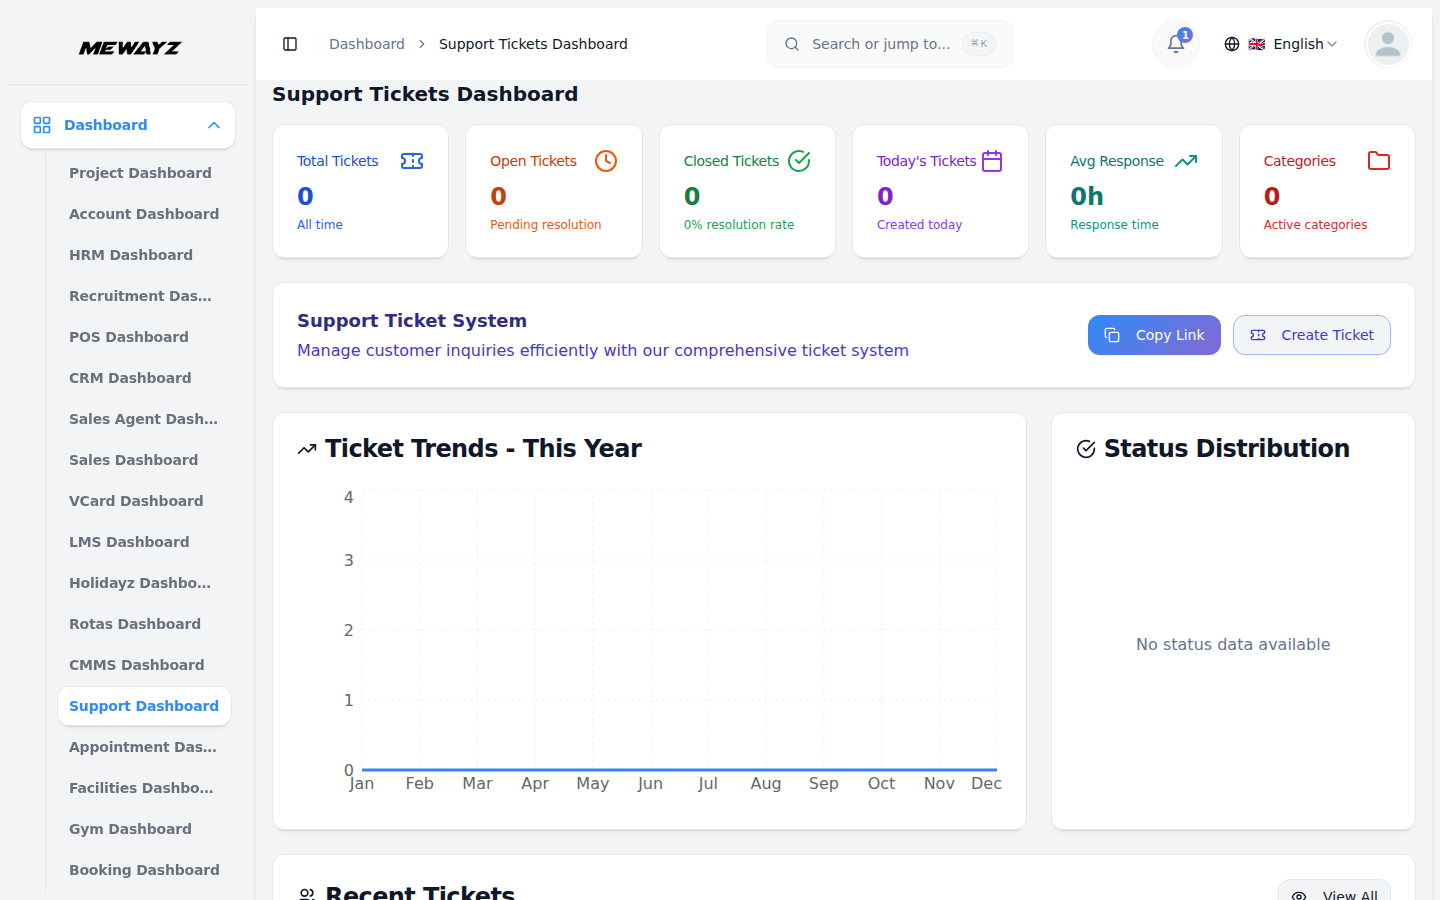
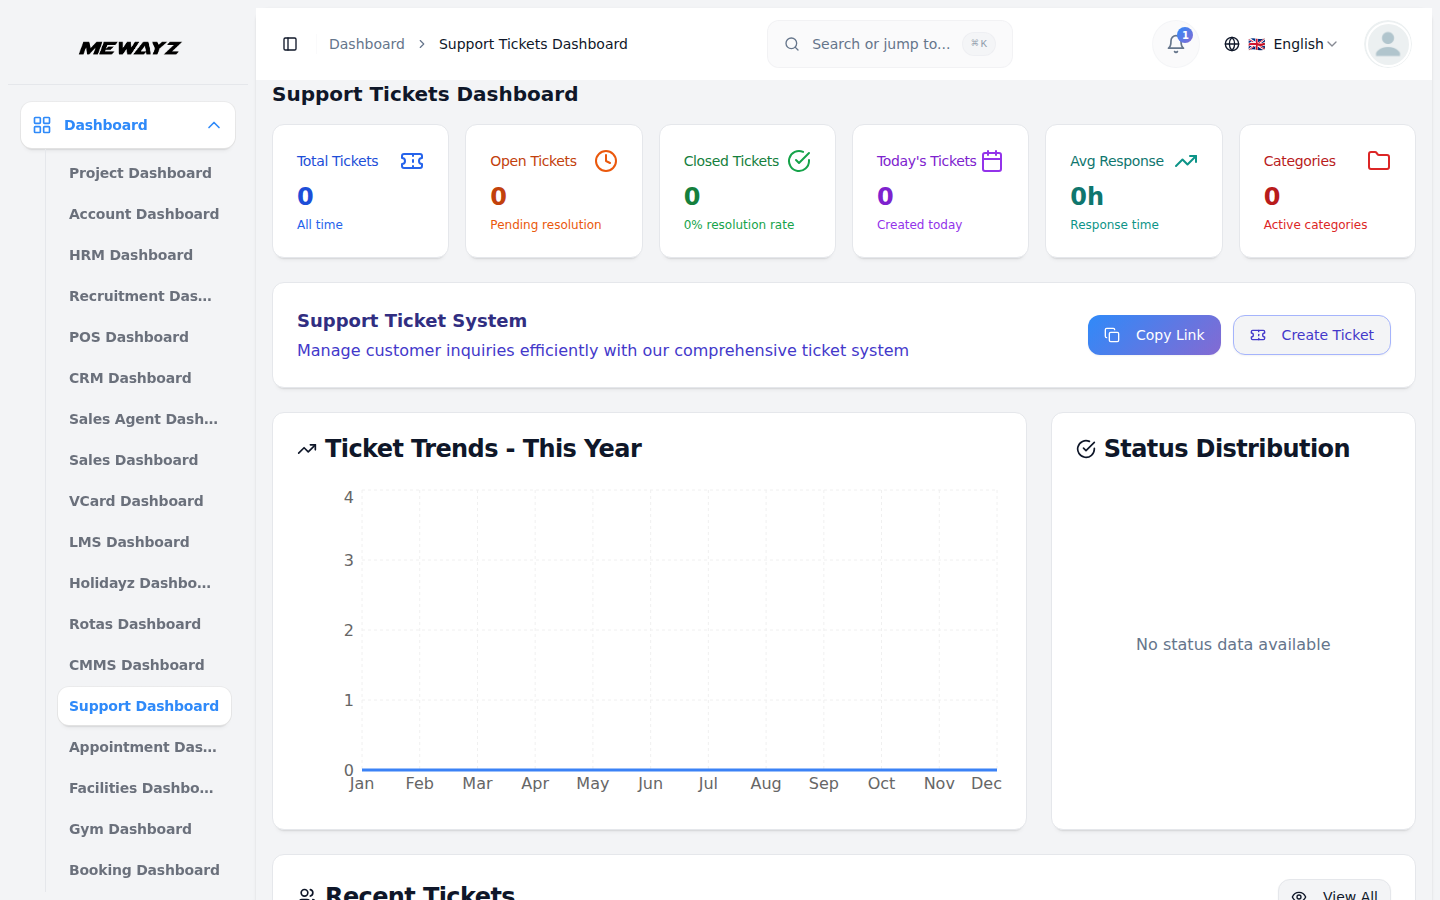
- When you open the Support Ticket Add-On, the first page you land on is the Mewayzboard.At the top, you’ll find a quick link to the Tickets page for direct access.
- You’ll also see the ticket categories listed, which clearly show how support queries are grouped.
- Stats like Opened Tickets, Closed Tickets, and Tickets Created This Year are displayed to help you track support performance.
- A section called Tickets by Category gives a visual or list-based view of how tickets are distributed among different categories.
System Setup
Support Categories
- In the System Setup page, you can create two types of categories: Support Categories and Knowledge Base Categories.
- Support Categories are used while creating tickets to classify issues by type or department (e.g., Technical, Billing).
Knowledge Base Categories
- Knowledge Base Categories are used to organize your articles under suitable sections like Troubleshooting, Guides, etc.
- To create a new category, click the “Create” button at the top of the page. Enter the required details like name and select a color for the category, and save.
Brand Settings
- Configure your support portal’s brand identity by accessing the Brand Settings page. Upload your logo for the header display and favicon for the browser tab. Enter the title text that will appear as your site title, and add footer text to be displayed at the bottom of the frontend support portal.
- The logo appears in the header of the frontend support portal, the favicon shows in browser tabs, and the title text and footer text are displayed across the site to maintain consistent branding.
Title Sections
- Customize the main section headings on your support portal homepage by configuring each service area. For the Create Ticket Section, enter the title and description. Configure the Search Ticket Section with its title and description. Set up the Knowledge Base Section title and description. Add title and description for the FAQ Section. Complete the Contact Section with its title and description.
- Each configured title and description appears in its respective section on the frontend support portal homepage, providing clear guidance to users about available services and features.
CTA Sections
- Create compelling call-to-action sections to promote key features. Configure the Knowledge Base CTA by entering its title and description. Set up the FAQ CTA with its title and description to encourage users to explore self-service options.
- These call-to-action sections are strategically displayed on the frontend support portal to guide users toward the Knowledge Base and FAQ sections for quick problem resolution.
Quick Links
- Add navigation shortcuts by clicking the “Create” button on the quick links page. Enter the link title, select an icon for visual identification, provide the destination link URL, and set the display order to control positioning.
- Quick links appear as easily accessible navigation shortcuts on the frontend support portal, allowing users to quickly access frequently used pages and features.
Support Information
- Define your support availability by entering response time expectations and setting opening and closing hours. Add phone support contact information and configure business hours for each day of the week (Monday through Sunday) using the Open/Closed toggle switches to indicate availability.
- Support availability information is displayed in the contact section of the frontend support portal, helping users understand when they can expect assistance and how to reach your team.
Contact Information
- Enter your company’s complete contact details and business information to help users reach your support team. Include essential contact information such as email addresses, phone numbers, and physical addresses.
- Contact information is prominently displayed on the contact page of the frontend support portal, making it easy for users to get in touch with your support team through their preferred communication channel.
Custom Pages
- Create additional pages by clicking the “Create” button on the custom pages section. Enter the page title and add content using the content editor. Set the page status to control whether it’s visible on the frontend support portal.
- Custom pages are accessible from the frontend support portal, allowing you to add important information such as Privacy Policy, Terms & Conditions, About Us, or any other custom content your users may need to access.
Create Tickets Using Copy Link
- On the front end, users can submit a new support ticket through a simple form.
- TThey need to enter the ticket title, describe the issue, select a category, and submit.
- Once submitted, the ticket is created and visible on the admin side under the Tickets page for further action by the support team.
- Also, you can search for a ticket using the email or ticket number by clicking on the copy link.
Tickets
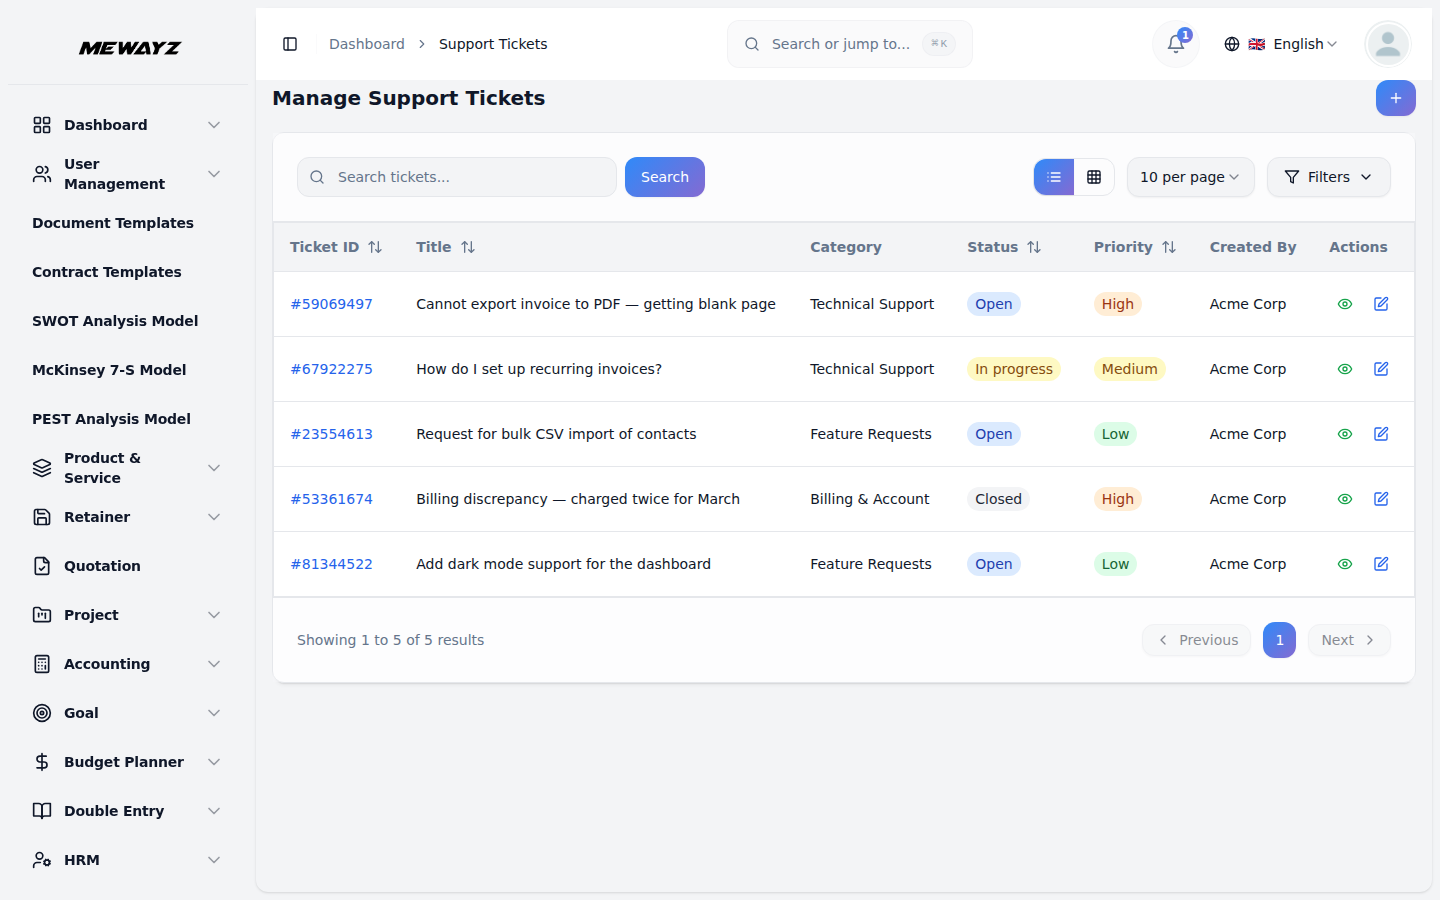
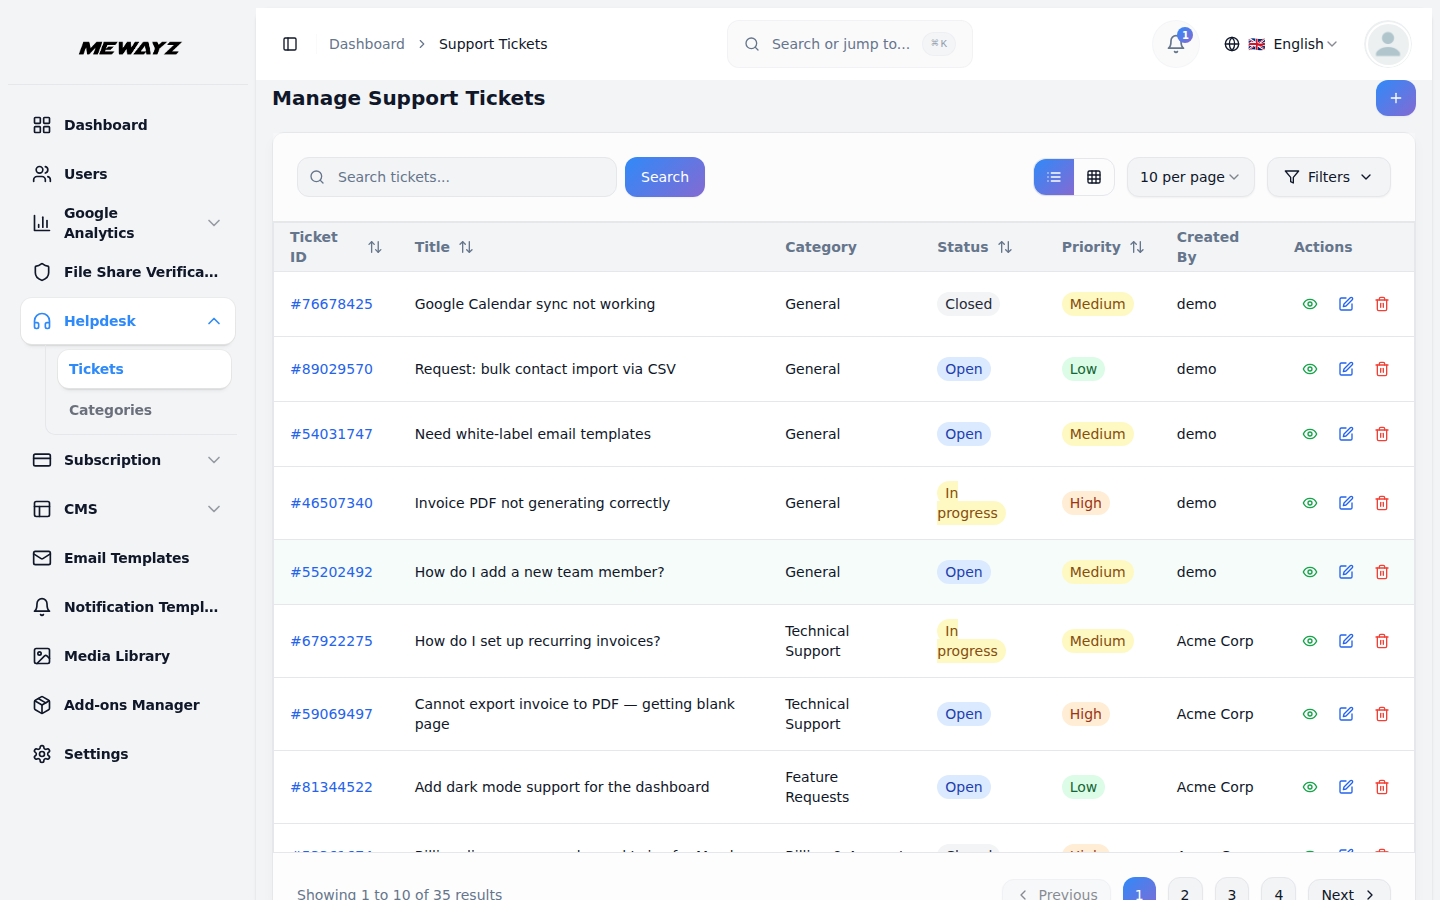
- TThe Tickets page is used to create, view, edit, and manage all support tickets.
- Click the Create button to raise a new ticket. Add the required details like select account type, Name, email, select category, select status, subject, attachments, and description.
- When you choose the account type custom, you can enter a name and email. When you choose account type staff, client, or vendor, you can get a selection dropdown of staff, client, or vendor, and according to this, you can get an email automatically.
- You can filter tickets by status, such as Open, In Progress, Resolved, or Closed. This helps in narrowing down the list for better management.
- Use the View button to open a ticket and see all the submitted details and previous interactions.
- The Delete button allows you to permanently remove any ticket from the system if it’s no longer needed.
- You’ll also see a Zendesk button on top. If you’ve purchased the Zendesk Add-On, you can sync tickets directly with your Zendesk account.
- Switch between List View and Grid View depending on how you prefer to see the tickets.
- The Edit button opens the ticket in edit mode, where you can not only change ticket details but also find two important options:
- Add Reply: Use this to respond to the client. Replies are visible to the client and help in keeping the communication ongoing.
- Add Note: Notes are internal and only visible to admins. Use this to share updates or instructions among team members without showing it to the client.
Knowledge Base
- The Knowledge Base section helps you create helpful articles for your users.
- Click the Create button to add a new article by entering a title, writing the content, and selecting a category.
- Use the Knowledge Category button to quickly access or manage article categories, ensuring everything stays organized.
- The Import button lets you upload multiple articles at once, saving time if you’re moving from another platform or have pre-written content.
- The Delete button allows you to remove any outdated or incorrect articles.
- These articles appear on the front-end, helping users solve their issues without raising a ticket.
- Zendesk Add-On users can also sync knowledge base content with their Zendesk account for unified access.
FAQ
- FFAQs are used to answer commonly asked questions for your customers.
- Click the Create button to add a new FAQ by entering a title and writing the answer in the description.
- The Import button allows you to bulk upload FAQs if you already have them documented.
- Use the Delete button to remove FAQs that are no longer relevant.
- FAQs are visible on the front end for users to view directly.
- If you are using the Zendesk Add-On, FAQs can also be synced with your Zendesk account for consistent help content across platforms.
Contacts
- The Contact Us section displays data from users who have sent messages using the contact us form on your website. This helps you manage customer enquiries and communication effectively.
- The list page shows all contact messages with columns like Name, Email, Phone, Subject, and Message You can use ‘delete’ to remove messages from the System.
- These contact messages come from the contact form on your Website Contact Page, where visitors can fill out First Name,Last Name, Email, Subject, and Message fields to send enquiries directly to your backend system.
Support Ticket Settings
Ticket Fields Settings
- The Ticket Fields Settings allow you to create and manage additional form fields tailored to your specific requirements. These fields help you collect extra information from users beyond the default system fields.
- In this Ticket Field Page, you can see 2 buttons, like FAQ and Knowledge Base. You can enable or disable these buttons as you need. When the FAQ and Knowledge Base button is enabled at the time you copy the link from the dashboard, you can see the FAQ and Knowledge Base otherwise, you can not see the FAQ and Knowledge Base.
- The Ticket Field page displays a tabular list of all existing custom fields along with the following details:
- Label – The name or title of the custom field as it will appear to users.
- Placeholder – Sample text that appears inside the input field before the user enters any data.
- Type – The kind of input field (such as text, number, dropdown, date, checkbox, etc.).
- Required – Indicates whether the field must be filled in by the user.
- Width – Defines the visual width of the field (for example, full or half-width).
- Action – Contains an edit icon that allows you to update or modify the custom field details.
Creating a New Ticket Field
To create a new ticket custom field, follow these steps:
- Click the Create button located at the top of the page.
- In this tabular field that appears:
- Enter the Label that will identify the field.
- Enter the Placeholder text to guide users on what to input.
- Select the Type of input field from the dropdown (e.g., text, email, number, date, textarea, etc).
- Select the Width from the dropdown (typically options like 50% or 100%).
- Specify if the field is required by toggling the checkbox accordingly.
- You can update and delete any added fields except the default fields.
- Save your changes to reflect them immediately in the system.
Once all details are entered, submit the form to add the ticket field. It will instantly appear in the list and become available for use in relevant forms.