Consultancy Integration in Mewayz
The Consultancy Management Add-On is a complete business solution designed to help consultancy firms manage their services, customers, and operations efficiently.
Introduction
The Consultancy Add-On is a comprehensive platform that streamlines the management of consultancy services, customers, applications, payments, and enquiries. It centralizes key operational processes, organizes essential data, and ensures smooth coordination between clients and service providers, enhancing overall efficiency and record-keeping for consultancy-focused businesses.
How to Install the Add-On?
To Set Up the Consultancy Add-On you can follow this link: Setup Add-On.
How to Use the Consultancy Add-On?
System Setup
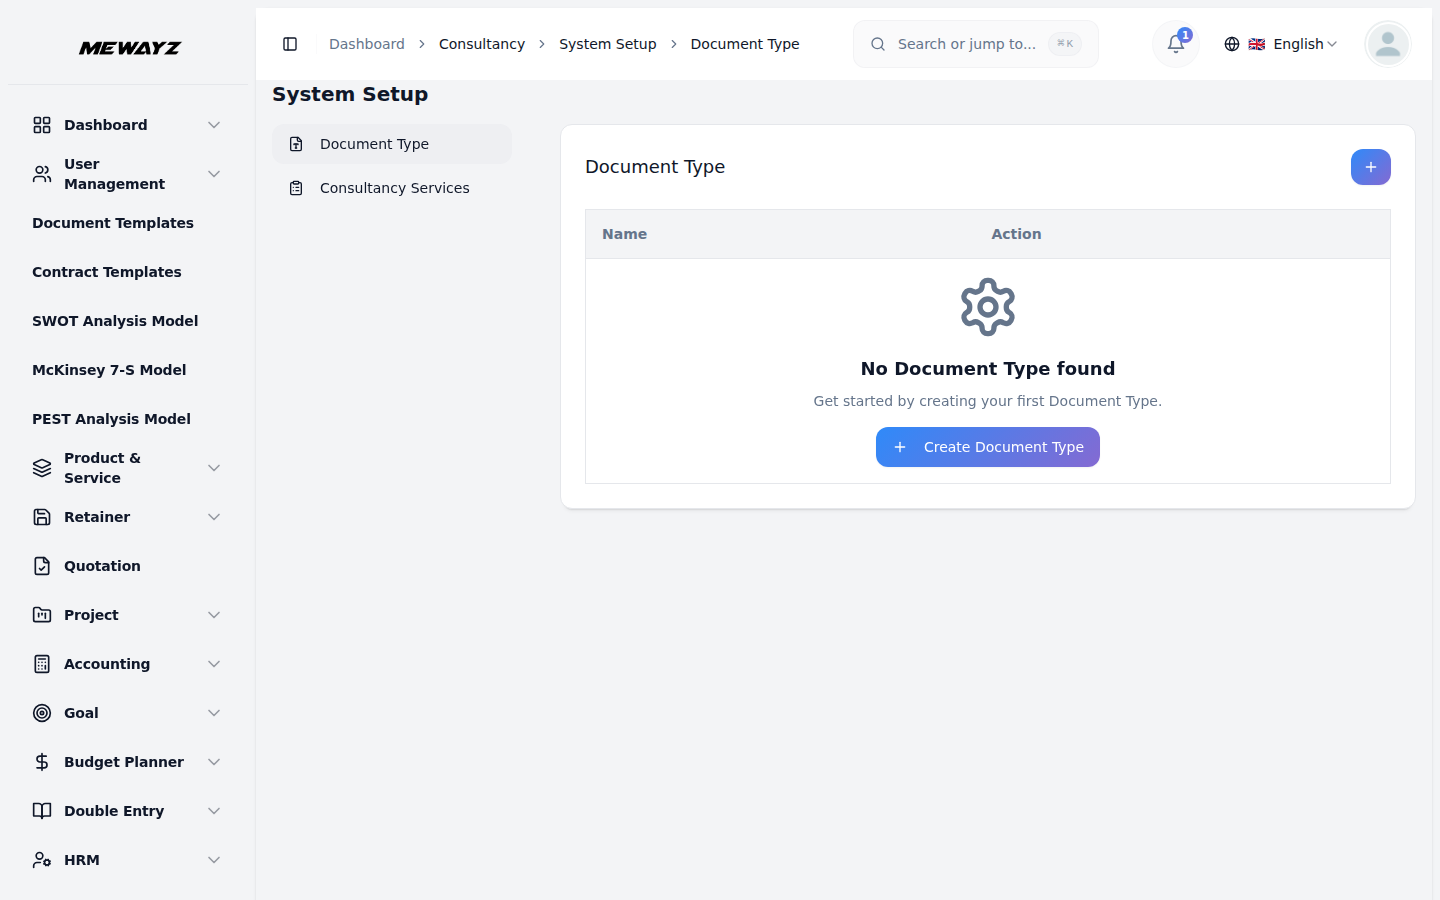
- The System Setup section allows administrators to configure foundational data used
across the system. It currently includes Document Types and Consultancy Services, both of which are referenced when managing client services and document requirements throughout the platform.
Document Types
- To add a new document type, click the “Create” button on the Document Types page. In
- The Document Types list displays all configured types in a table with columns for
- Available Actions: Use Edit to update or modify an existing document type, and
the form that opens, enter the Name of the document type in the provided field.
Name and Action, providing a quick overview of every document type available in the system.
Delete to permanently remove it from the system. Note that document types actively referenced by Consultancy Services should be managed carefully, as changes may affect existing service records that depend on them.
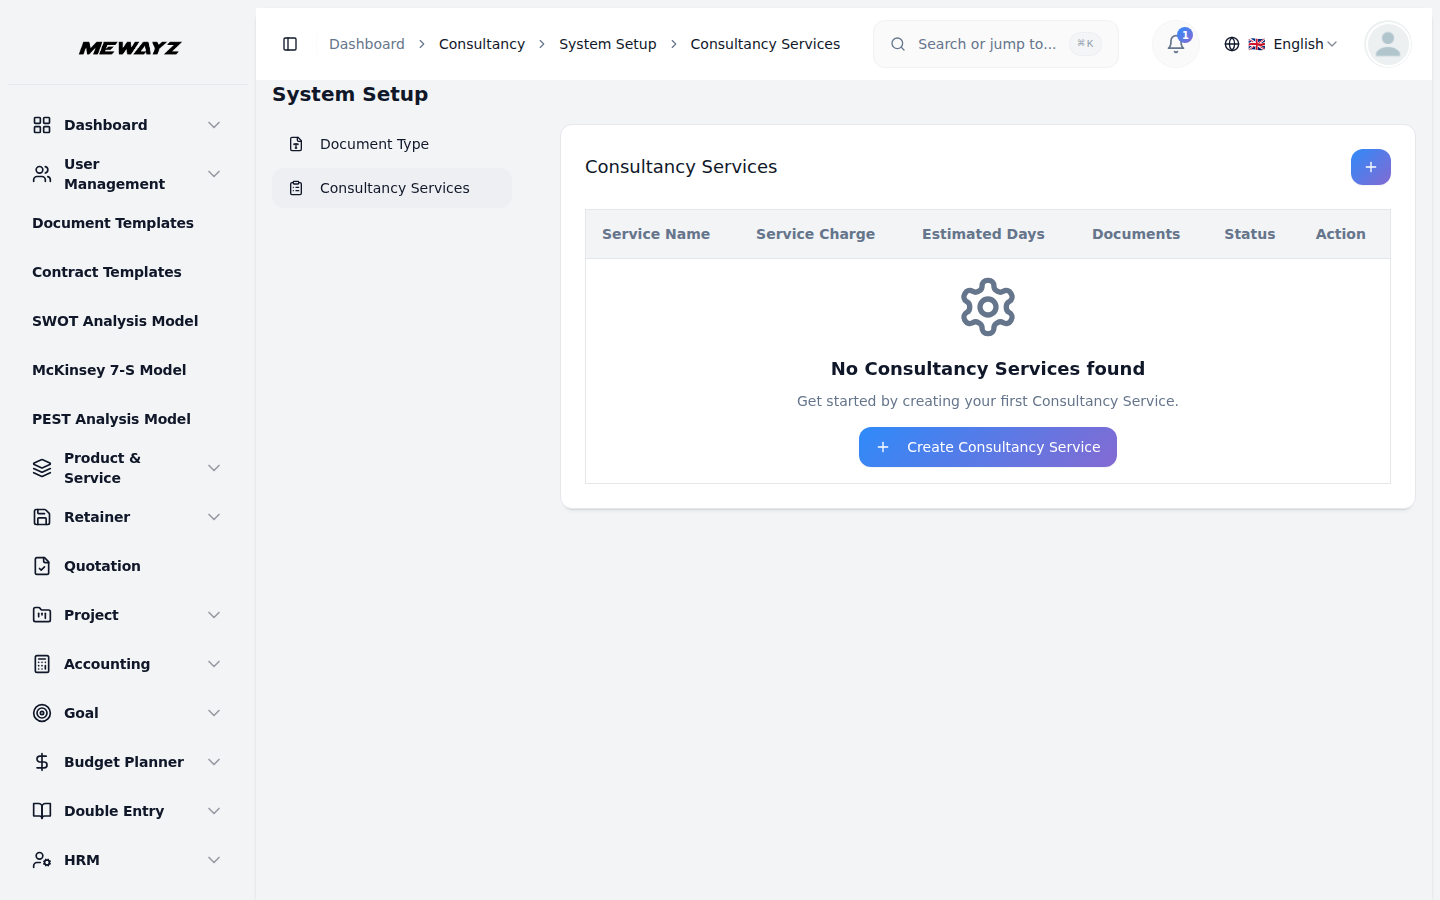
Consultancy Services
- To add a new consultancy service, click the “Create” button on the Consultancy
- Document Types section, select the required document types for the service by
- The Consultancy Services list displays all configured services in a table with
- Available Actions: Use Edit to update or modify an existing consultancy service, and
Services page. In the form that opens, enter the Service Name and Service Charge, along with the Estimated Days required to complete the service. Use the Status toggle to set the service as active or inactive upon creation.
choosing from the dropdown under each item. Check the Is Required checkbox to mark a document as mandatory. Additional document types can be added by clicking the ” Add Document Type” button.
columns for Service Name, Service Charge, Estimated Days, Status, Documents, and Action.
Delete to permanently remove it from the system. Note that services currently in use should be managed carefully, as modifications to service charges, document requirements, or status may impact ongoing client engagements that reference them.
Manage Customers
- To register a new customer, click the “Create” button on the Manage Customers page.
- Select the Date of Birth using the calendar picker, choose the appropriate Gender using
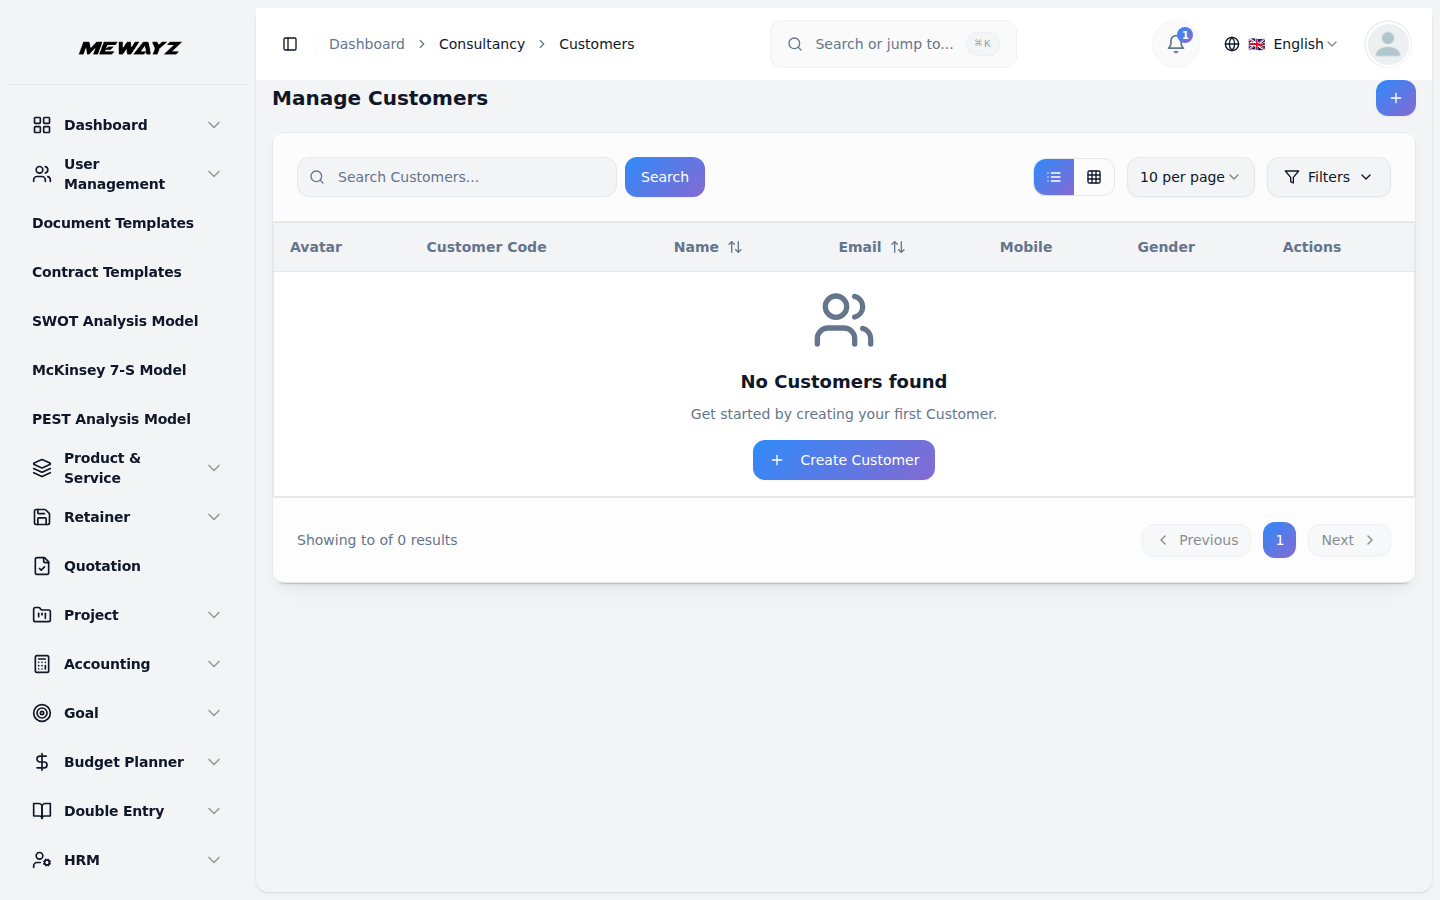
- The Manage Customers list displays all registered customers in a table with columns for
- Use the search bar to quickly locate a specific customer by name or other details. Apply
- Available Actions: Use View to see full customer details, Edit to update or modify
Start by selecting a User from the dropdown, note that only users with the Client role who are not already assigned to another customer will appear in this list. Enter the customer’s full Name, Email, and Mobile number.
the radio buttons (Male or Female), and enter the customer’s Address in the provided text area.
Avatar, Customer Code, Name, Email, Mobile, Gender, and Actions.
filters using the Gender dropdown (Filter by Gender) to narrow down results. Click Apply to activate the filter or Clear to reset it. Toggle between list view and grid view using the view buttons at the top right
customer information, and Delete to permanently remove the customer from the system.
Manage Applications
- To create a new application, click the “Create” button on the Manage Applications page.
- In the first step, the Application ID is auto-generated by the system. Select the
- In the second step, under the Upload Documents section, the required documents for the
- Once the application is created, its status is set to Pending. At this stage, use the
- Use the search bar to quickly locate a specific application by keyword. Apply filters
- In the action column, use View to see the full application details, Edit to update or
The creation process is divided into two steps.
Customer from the dropdown (come from the customer section), choose the Service to be applied for, and set the Application Date using the calendar picker. Optionally, enter any Remarks in the provided text area. Click Next to proceed to the second step.
selected service will be displayed. Documents marked with a red asterisk are mandatory. For each document, click the Browse button to locate and upload the appropriate file from your device. Once all required documents are uploaded, click Create to submit the application, Previous to go back and make changes, or Cancel to discard the entry entirely.
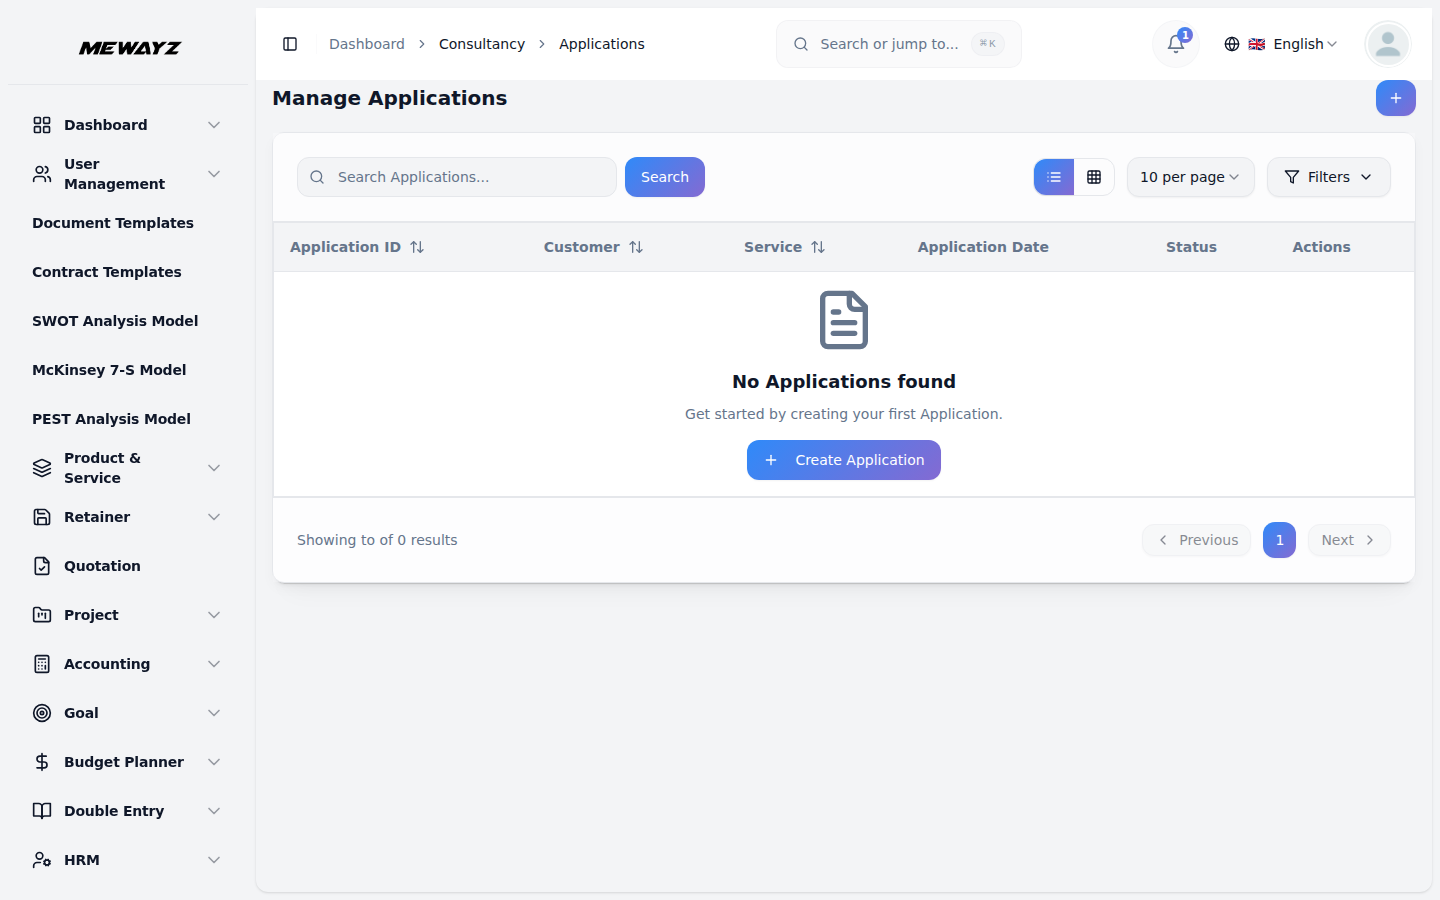
Assign action to assign an agent to the application by selecting the agent from the dropdown (which is populated from the user management) or description. Once an agent is assigned, the application status moves to Processing. While the application is in Processing, use the Process Payment action to record a payment by filling in the Payment Date, Bank Account, and optional Notes, then click Add Payment to confirm. The Manage Applications list displays all recorded applications in a table with columns for Application ID, Customer, Service, Application Date, Status, and Actions.
using the Customer, Service, and Status dropdowns to narrow down results. Click Apply to activate the filters or Clear to reset them. Toggle between list view and grid view using the view buttons.
modify the application, and Delete to permanently remove it from the system.
Consultancy Payments
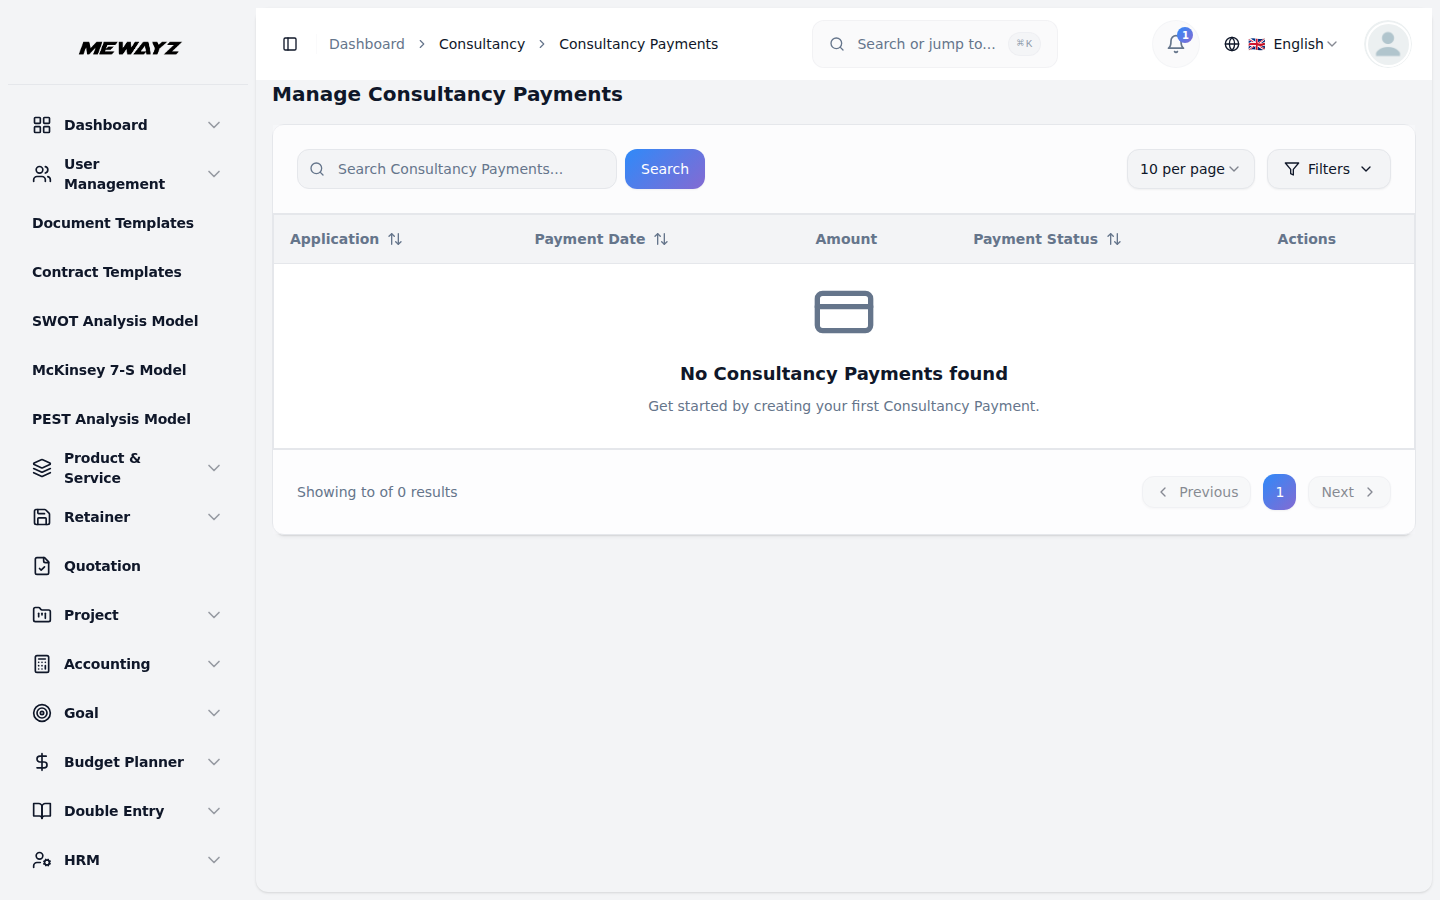
- The Manage Consultancy Payments page displays all payment records associated with
- The Payment Status column provides a visual showing the current state of each payment,
- Use the search bar to quickly locate a specific payment record. Apply filters using the
- Available actions: use the Approve button to confirm and clear a payment or the Reject
consultancy applications in a table with columns for Application, Payment Date, Amount, Payment Status, and Actions.
such as Cleared or Cancelled.
Application and Payment Status dropdowns to narrow down results. Click Apply to activate the filters or Clear to reset them.
button to cancel it. Use View to see the full payment details. Note that the View button becomes available after an approve or reject action has been taken and can be used to see the full payment details.
Consultancy Enquiries
- To create a new consultancy enquiry, click the “Create” button on the Manage Consultancy
- Select the Interested Service from the dropdown system (comes from the system setup
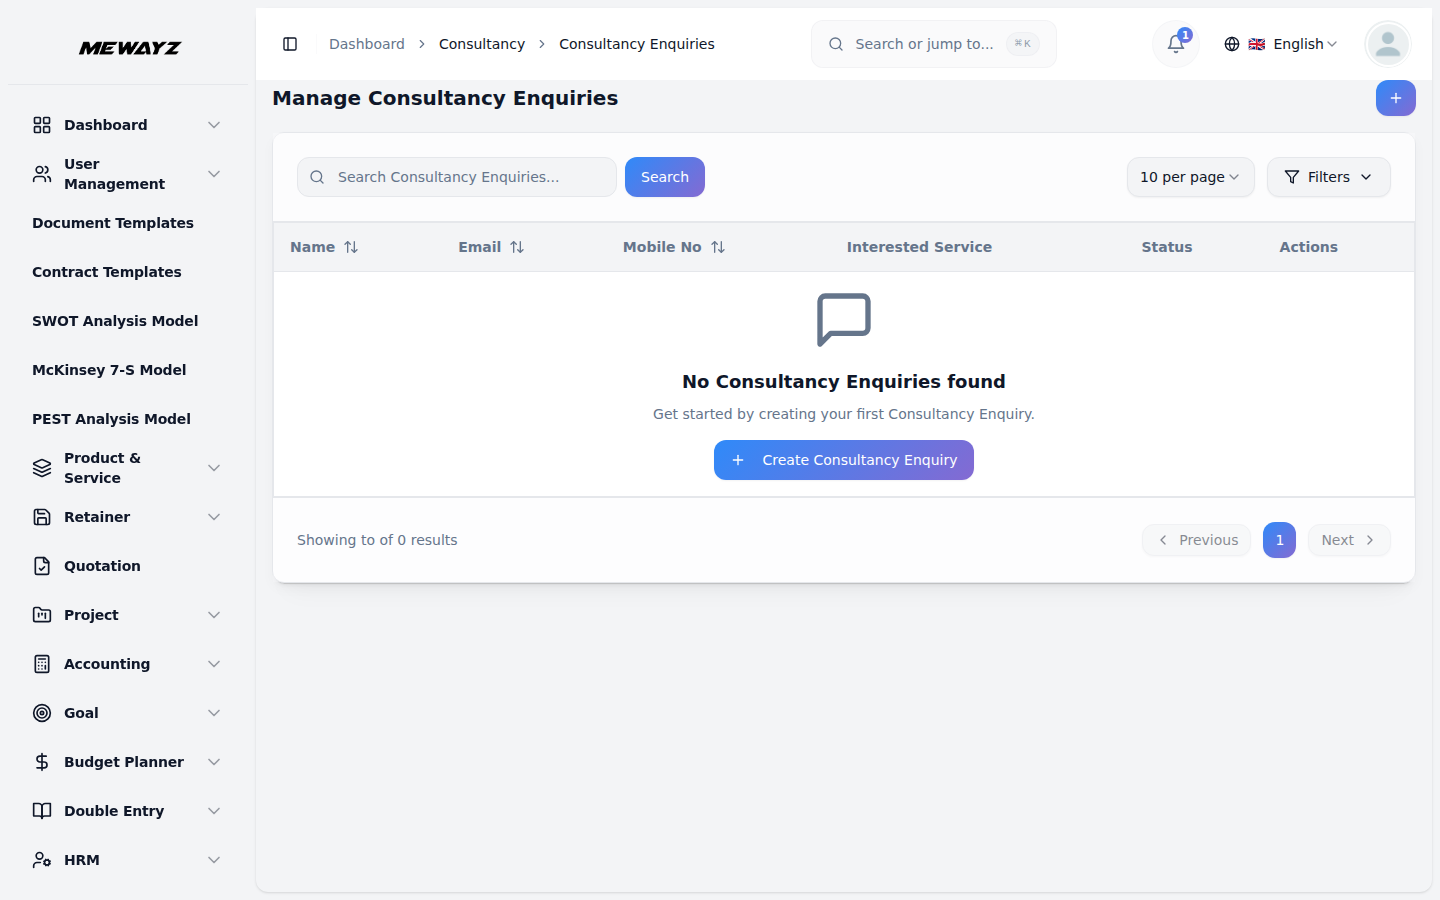
- The Manage Consultancy Enquiries list displays all recorded enquiries in a table with
- Use the search bar to quickly locate a specific enquiry. Apply filters using the Status
- With the help of the Actions column, use View to see the full enquiry details, Edit to
Enquiries page. In the form that opens, enter the Name and Email of the enquirer. Enter the Mobile No.
under the consultancy services section). Optionally, enter the Address in the provided text area and add a Description.
columns for Name, Email, Mobile No, Interested Service, Status, and Actions. The Status column provides a visual showing the current state of each enquiry, such as Open or Closed.
dropdown (Filter by Status) to narrow down results. Click Apply to activate the filter or Clear to reset it.
update or modify the enquiry, and Delete to permanently remove it from the system.